

For agencies / Dates and going live
Set a planned posting date
Tell your client when you plan to post each item. The date is a guide and can still change.
Who can do this: All staff
Steps
-
Open the post, alternative or story set.
-
Pick the day under Planned posting date in Details.
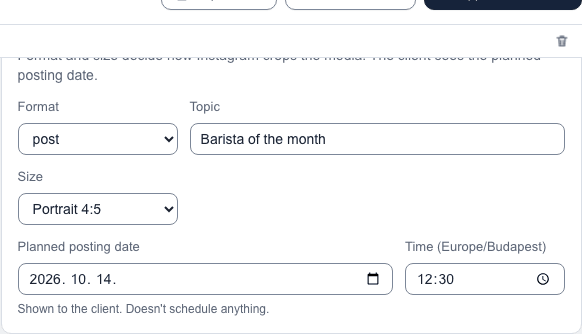
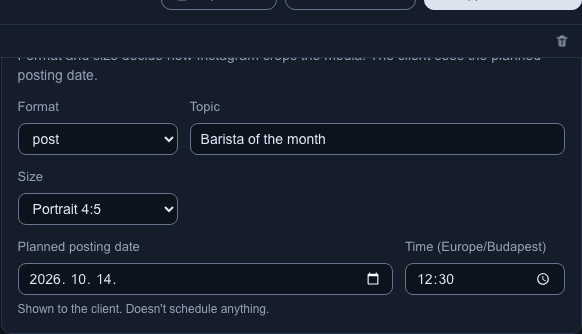
The time uses the client's time zone, shown in the label. -
Add a time if you want one. The time field's label names the client's time zone, for example Time (Europe/Budapest).
You can also type the date and time in the Planned posting date column of the plan's Table.
What happens next
The date saves automatically. Your client sees it as a guide on the post's page of the plan, on their Planned posts page, and in the PDF. You can still change it at any time until the plan is completed.
Notes
- A new alternative starts with the original's planned date, so you only change it if it differs.
- Posts without a planned date don't appear on the client's Planned posts page.